
A DIY Floating Desk in the Game Room
Learn how to build a simple DIY floating desk – perfect for a small space or an awkward corner!
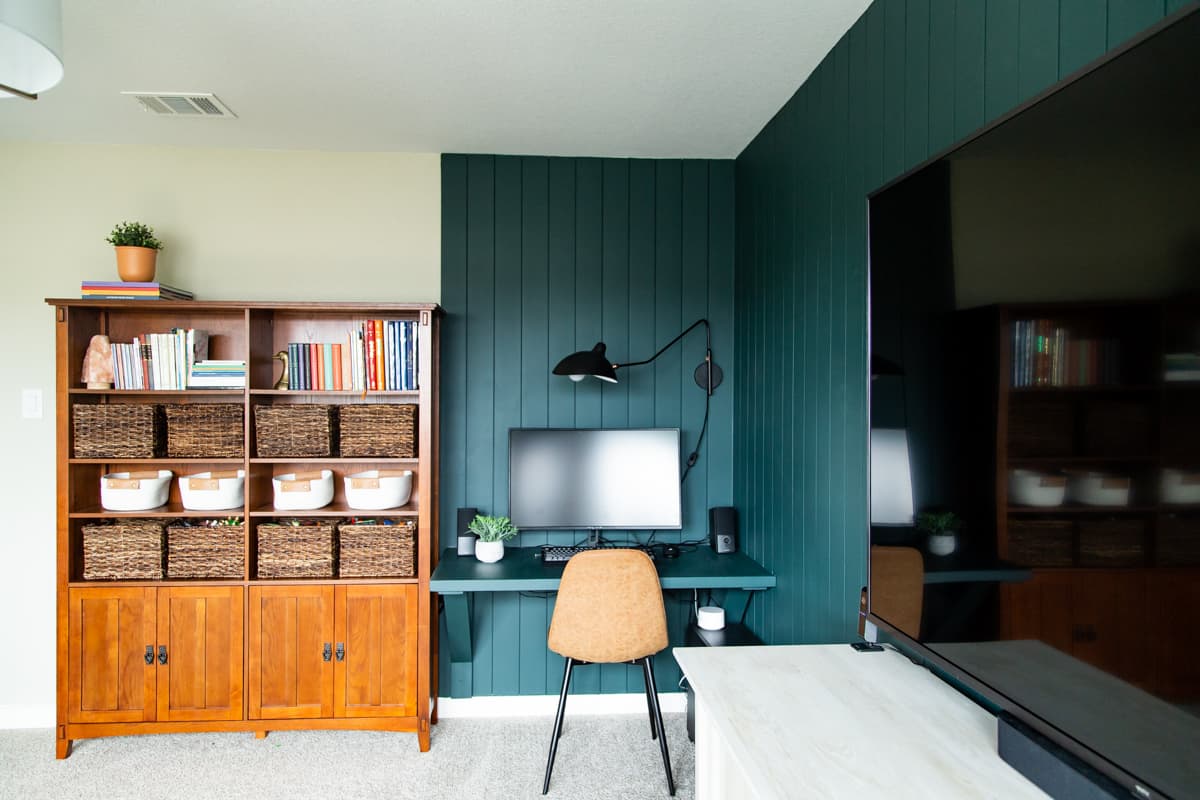
We wrapped up our makeover of the upstairs game room a little over a month ago, and I think it’s safe to say we’ve enjoyed that room over the last month more than we ever did before! It has stayed clean and organized most of the time, the boys can actually find the toys they want to play with, and that sofa is so cozy I actually want to hang out up there all day while they play.
Bottom line is, we’re loving the space.
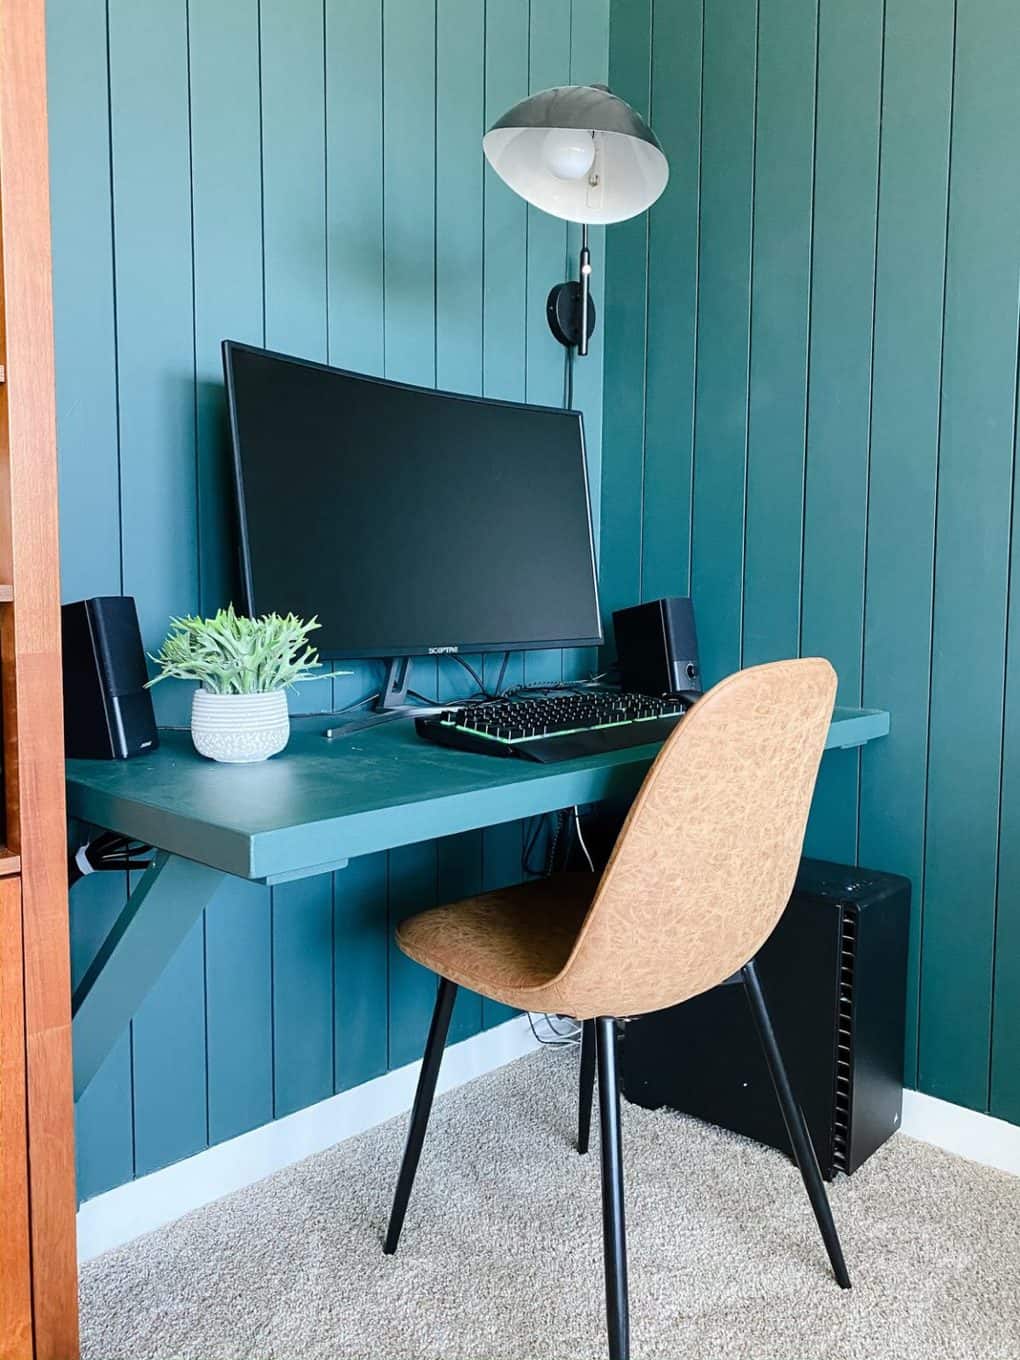
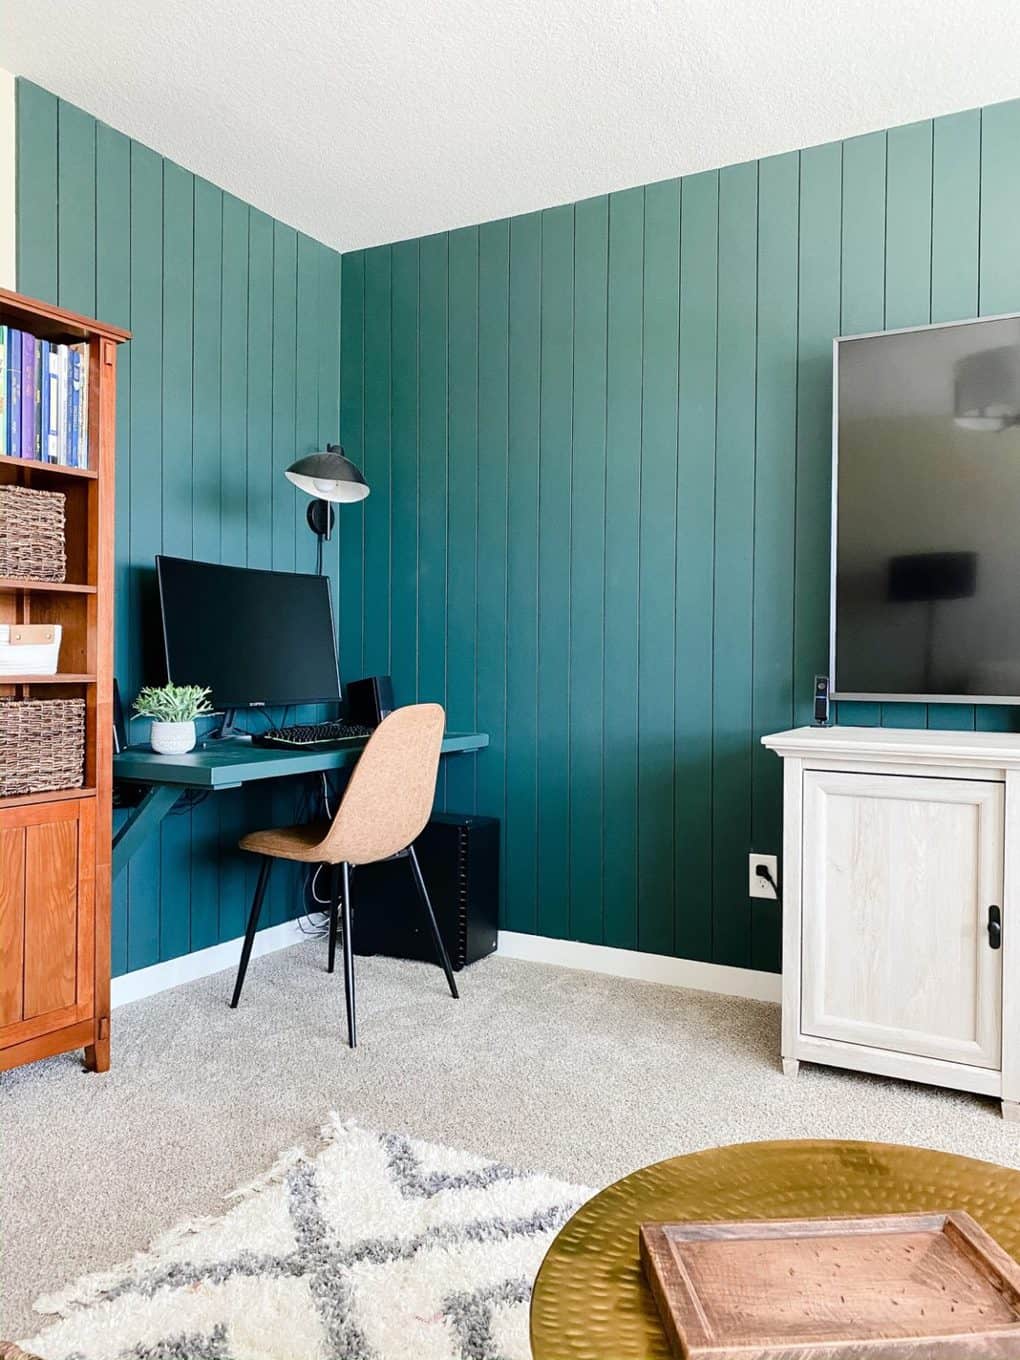
One of the projects in here that I got a few questions on but haven’t addressed yet is the floating desk in the corner! When we originally started this makeover, the plan was to build a long desk along this entire wall – but we realized it made a lot more sense to forego the big desk for now in favor of more toy storage. Eventually we’ll need more desk space as the kids grow, but for now what we really need is a place to stash all of the junk!
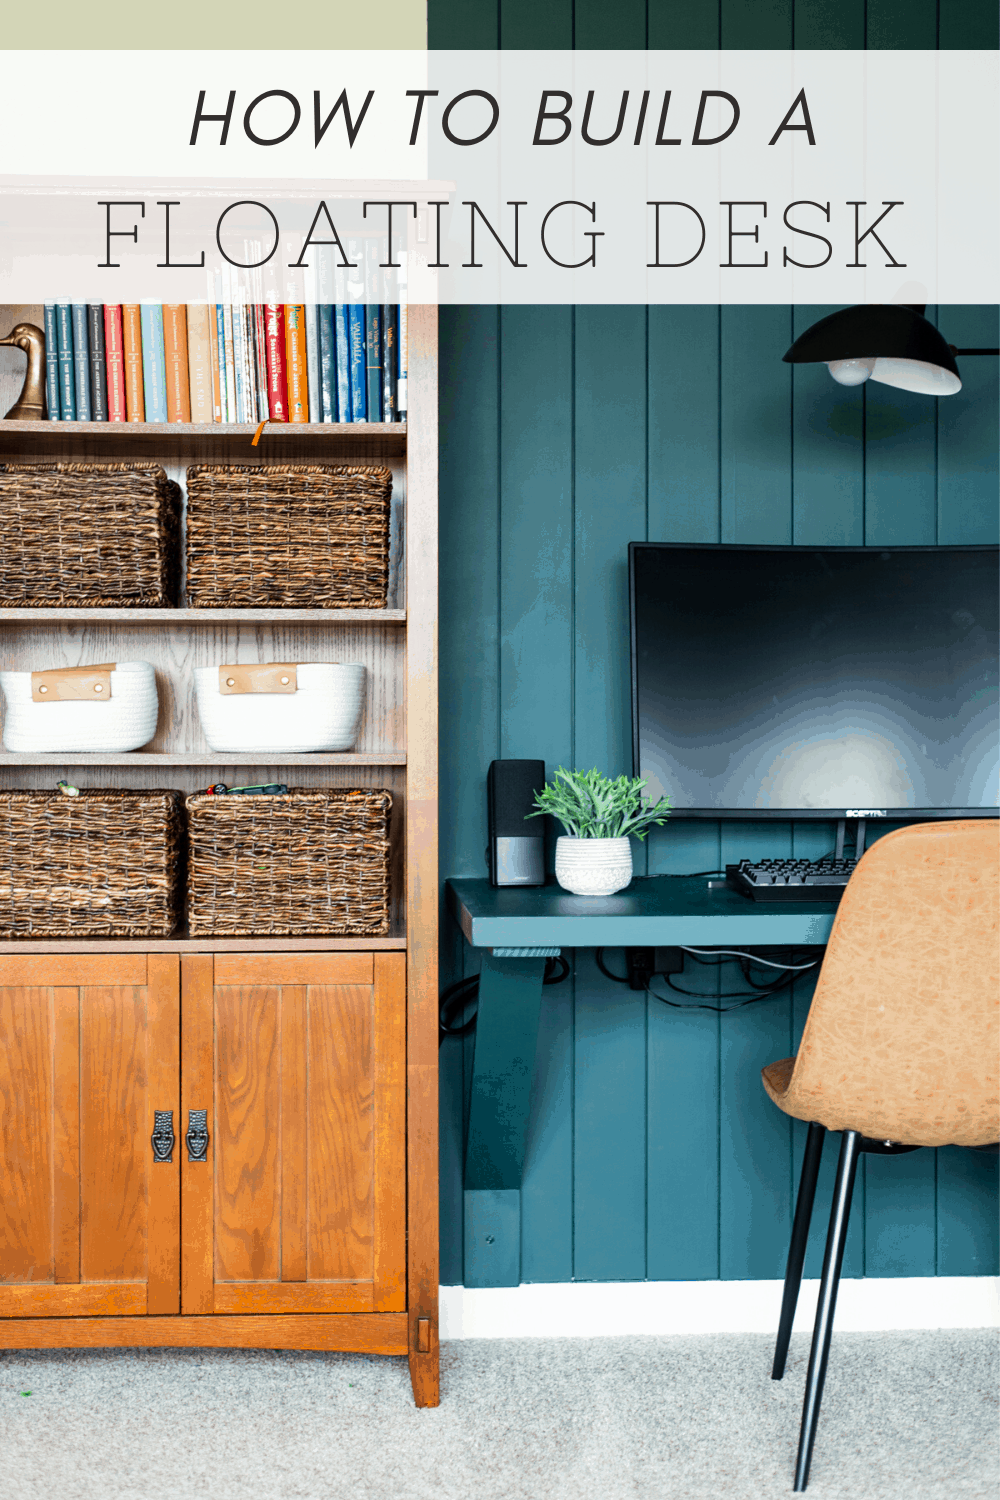
Corey built this DIY floating desk over the course of a weekend and I made the last-minute decision to paint it the same color as the shiplap (rather than staining it like we had originally planned), and I couldn’t be more thrilled with how it turned out. I love that it blends right into the corner and really complements the space rather than competing for attention.
Plus, it helps that it was really easy to put together!
I’ve had multiple requests now for a full tutorial on how we made this desk happen, so here are all the details!
how to build a diy floating desk
DIY Floating Desk
This simple DIY floating desk can be put together in an afternoon and will add a ton of function to a small or awkward corner!
Materials
- - 1/2 sheet of 3/4" plywood
- - (2) 8' 1x4 pine boards
- - (1) 8' 1x2 pine board
- - Wood glue
- - Screws
Tools
- - Miter saw
- - Drill/Driver
Instructions
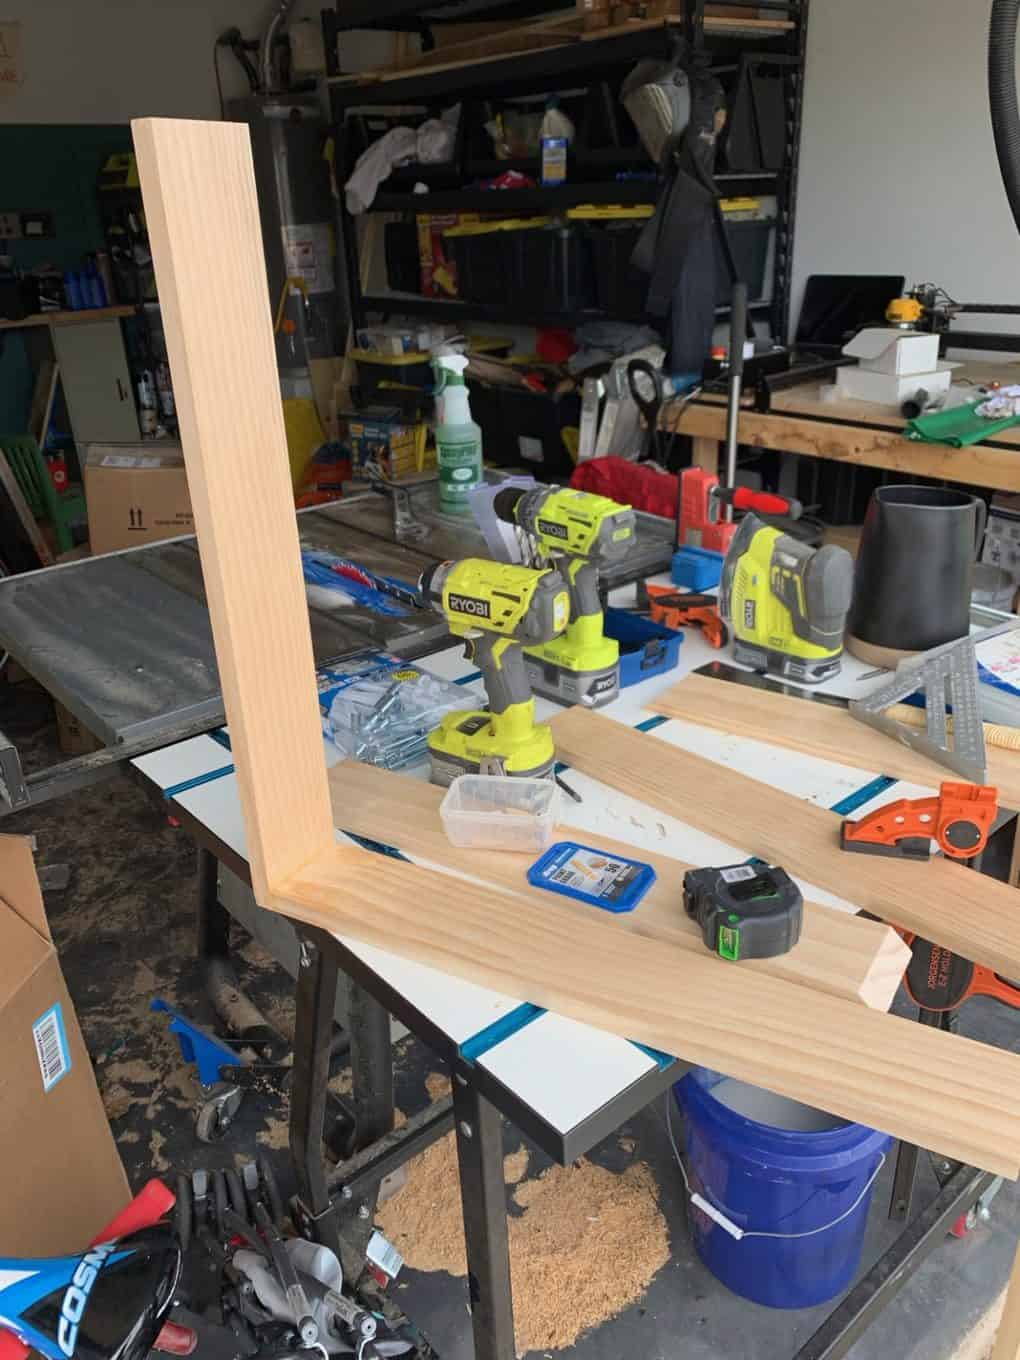
Start by building the supports for the desk. Cut your 1x4s into 4 pieces that are 24" each. Use wood glue and screws to create an L-shape with the boards, as pictured above.
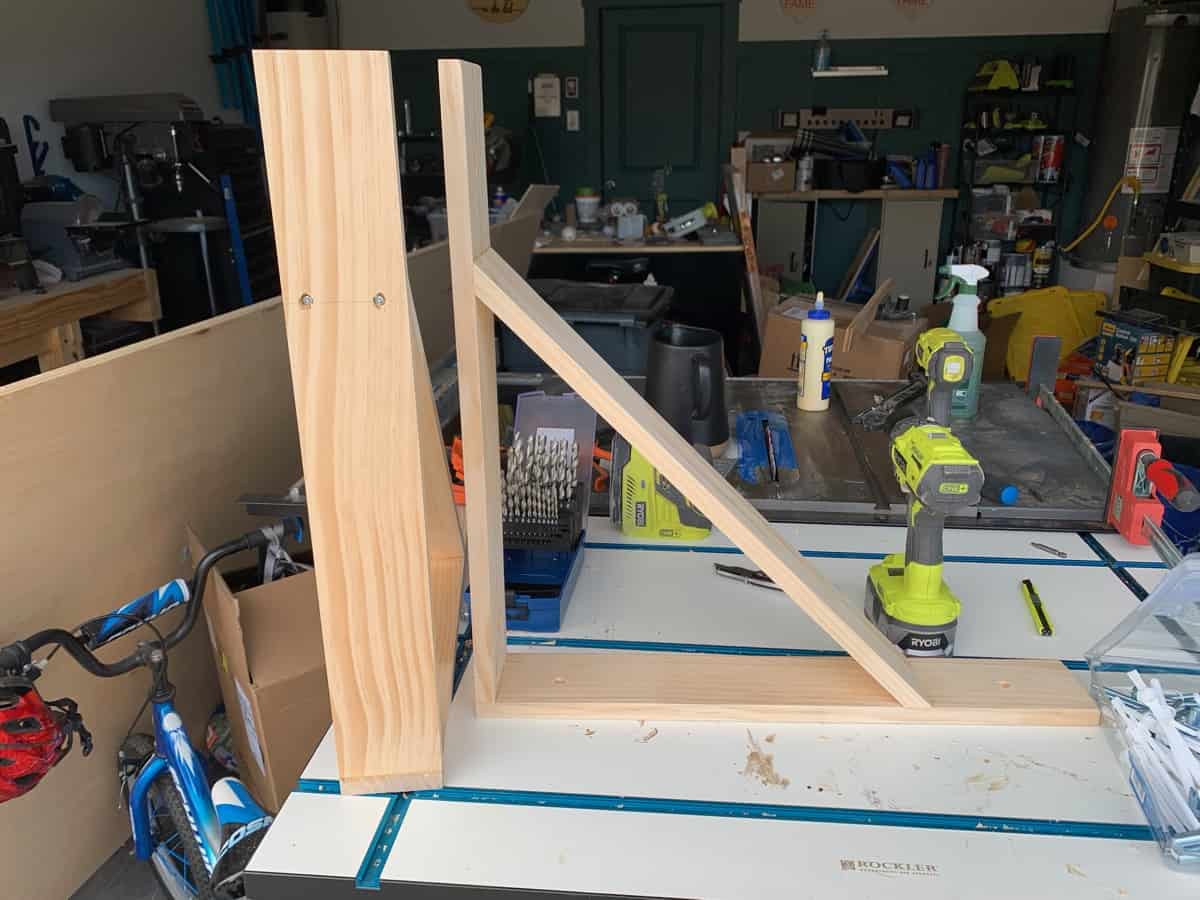
Cut two more pieces of the 1x4 to 24", and add 45-degree mitered edges to each side (learn more about how to use a miter saw here). Attach the board to the supports as shown above using wood glue.
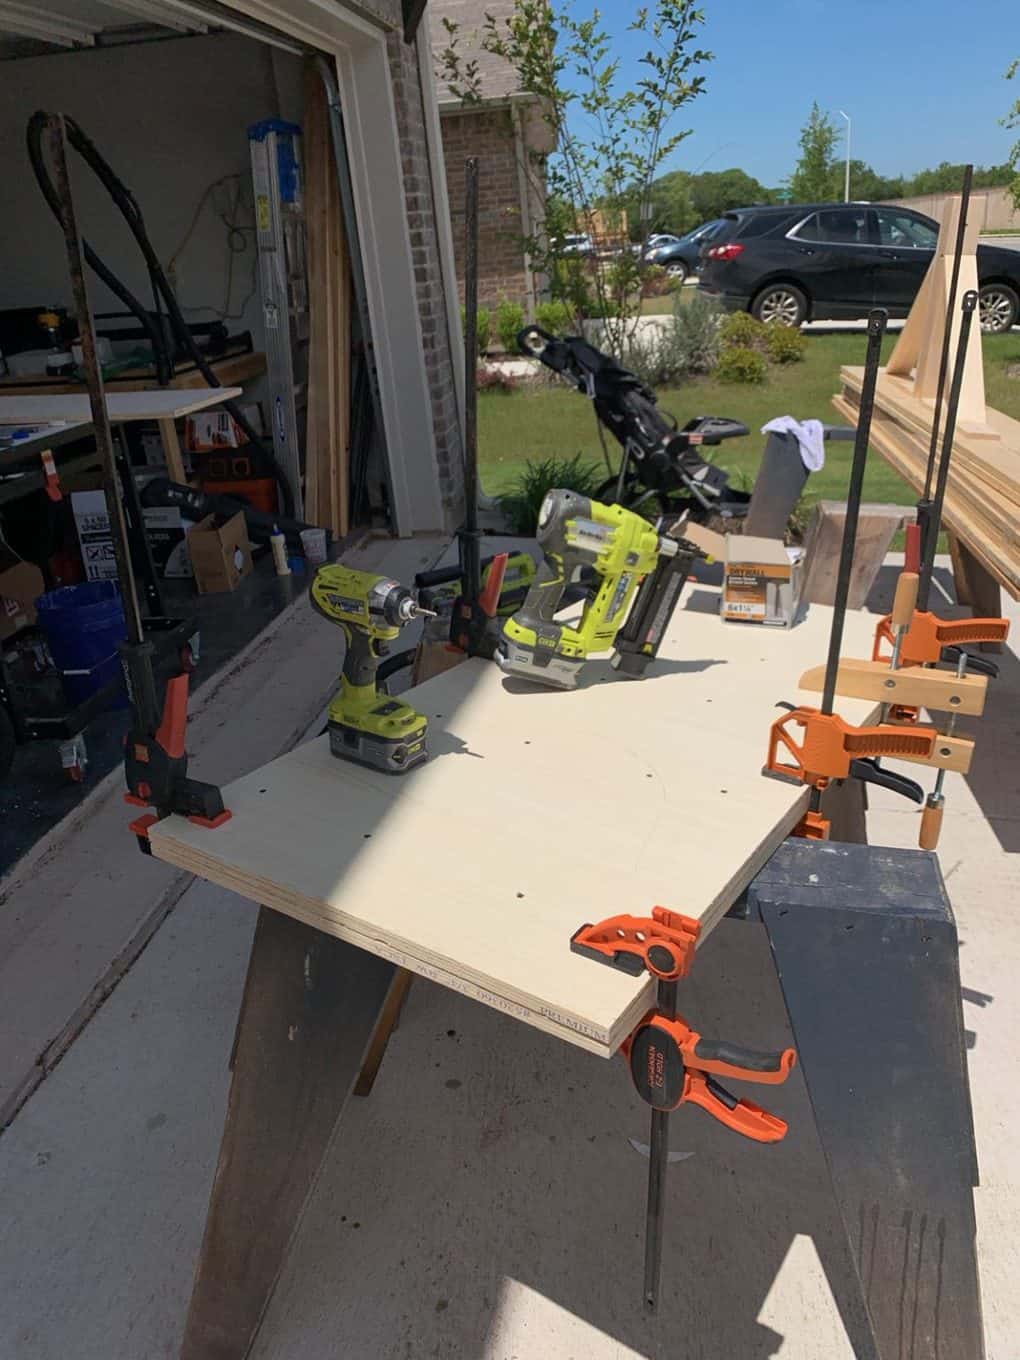
Create your desktop by cutting the 3/4" plywood into two pieces that are 4'x2' each. Apply wood glue liberally and screw the two pieces together to form one solid piece. Clamp together while it dries.
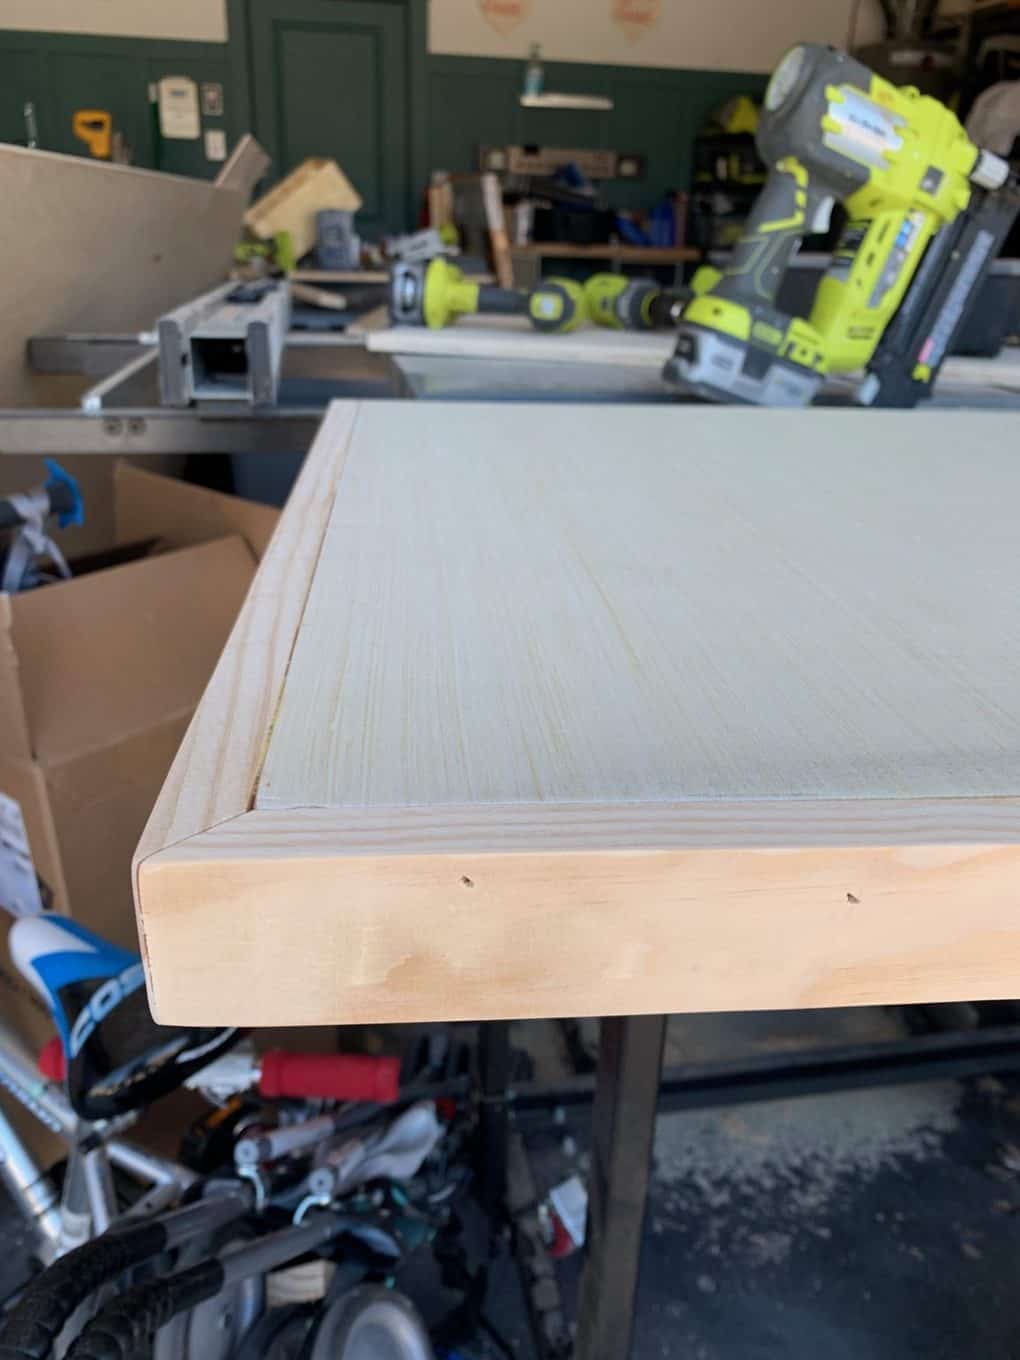
Once the tabletop has dried, add trim around all 4 edges using your 1x2 pieces of wood (pictured below).
Now you're ready to put it together! Attach the supports to studs in your wall using heavy duty screws, then add wood glue to the top of the supports, rest the desktop on the supports, and attach from underneath using screws.
When you're done, it will look something like this:
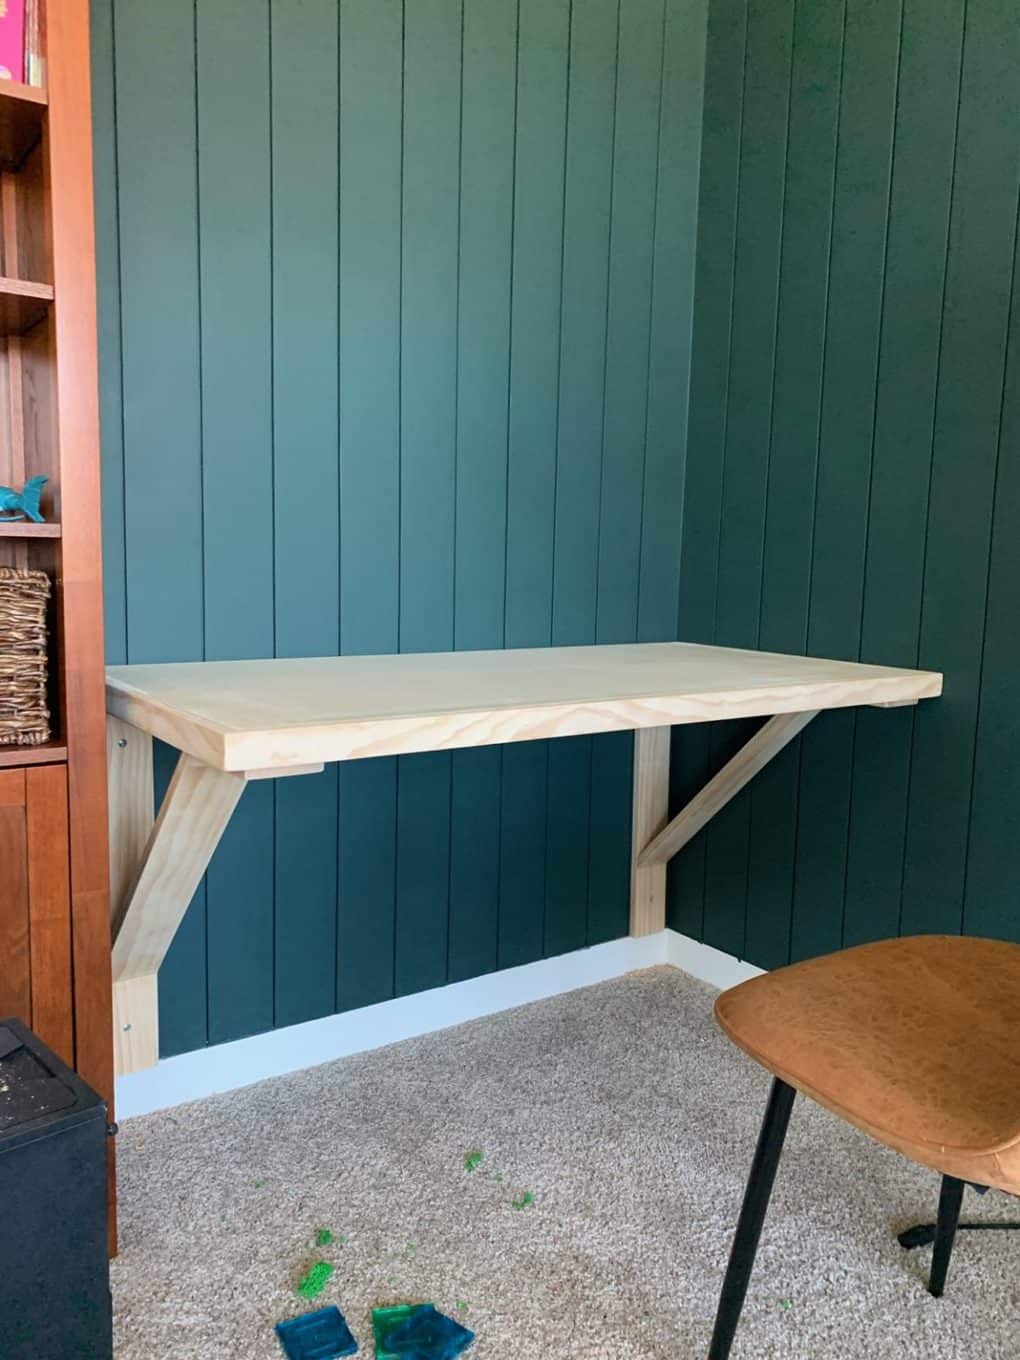
Finally, finish the desk using whatever method you prefer. I caulked all around the edges and painted the desk to match the shiplap wall behind it - you could also stain it!
Notes
This could easily be adjusted to accommodate different desk sizes. If you're making the desk any longer than 4 feet wide, though, I'd recommend adding a middle support as well!
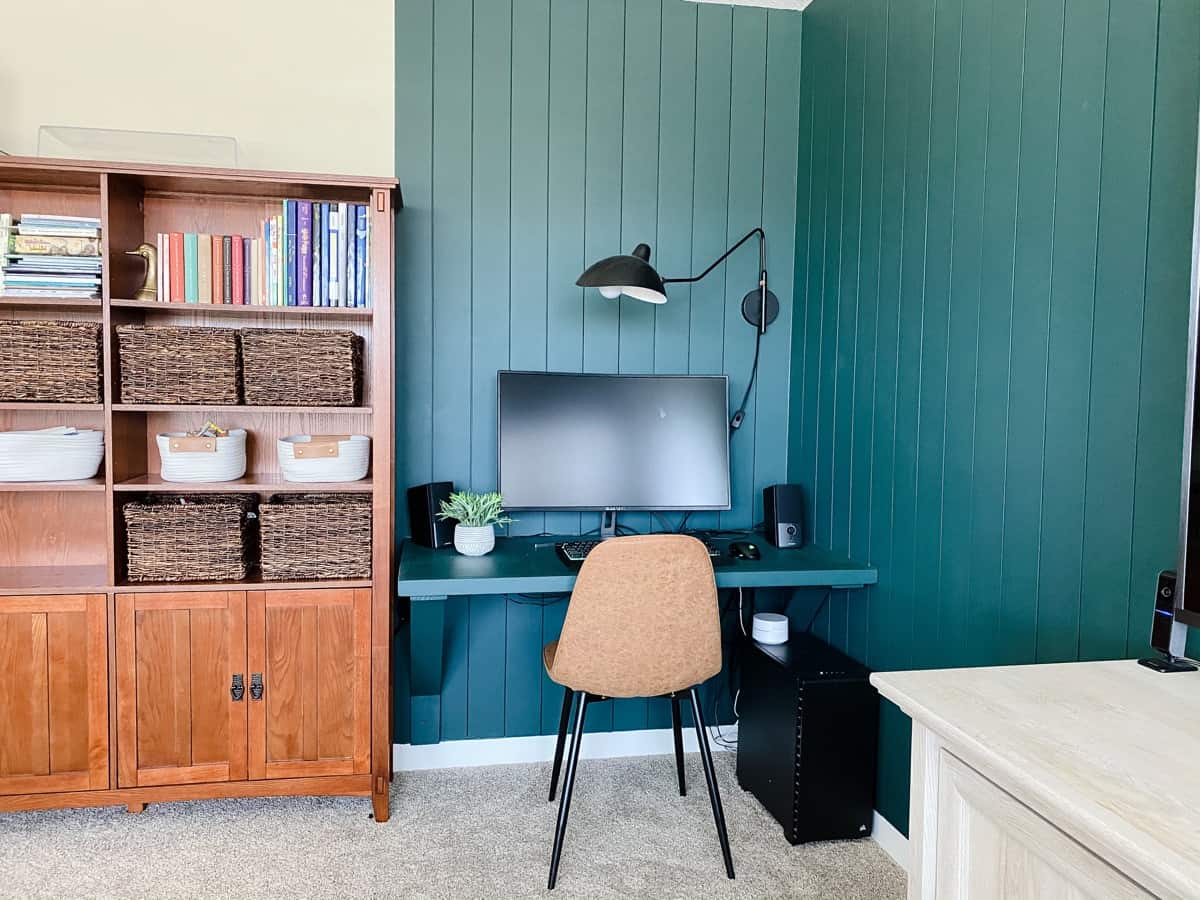
For now, this space functions really well as a spot for Jackson to play video games and for Corey to get a bit of work done. Eventually, I’d love to replace the computer with something a little more attractive (iMac, anyone?!), but for now it’s largely a super functional space and I’m not terribly concerned with how beautiful it is, you know?
Planning into the fall (and maybe beyond), it’s looking more and more like Jackson will likely be doing much of his school this year virtually, so I think we’ll be even more grateful to have this space where he can get some schoolwork done while his little brother plays.
If you missed any of the details of this space, click here to see the full makeover of our game room – you won’t believe the before! You can also click here to watch the process unfold on Instagram stories.
And, if you’re looking for any of the sources pictured for this space, just keep on reading!
Sources
The post A DIY Floating Desk in the Game Room appeared first on Love & Renovations.